
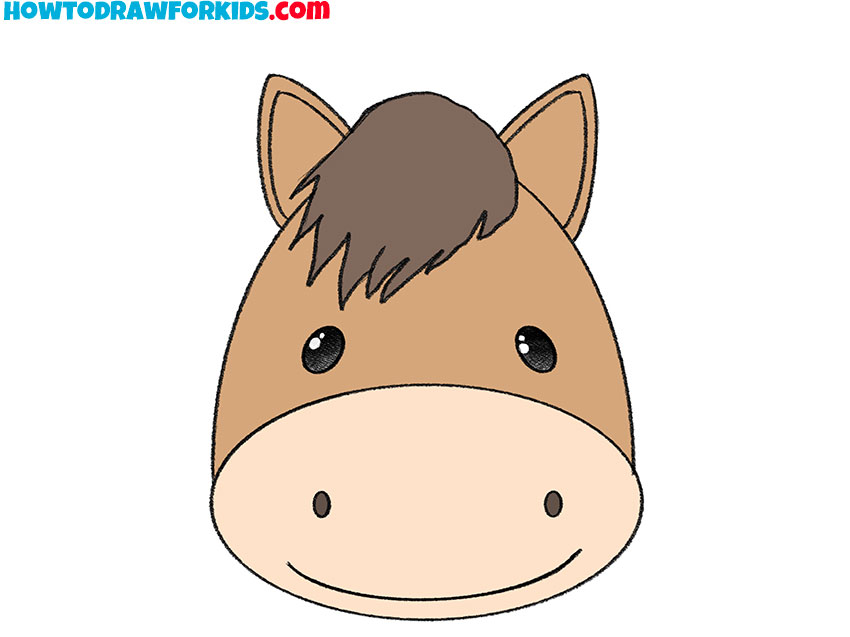
To draw an easy horse head, start by sketching an oval shape for the head and adding a curved line for the bridge of the nose. Then, draw two large circles for the eyes and add details like the ears and mouth.
Next, outline the mane and jawline, and erase any unnecessary lines. Finally, add shading and other details to bring your horse head drawing to life. With these simple steps, you can easily create a realistic horse head drawing. Drawing a horse head can be an enjoyable and rewarding activity.
Whether you are an aspiring artist or just looking to try your hand at drawing, this guide will help you create an easy horse head drawing. By following a few simple steps, you can create a realistic representation of a horse head that showcases your artistic skills. So, let’s dive in and explore how to draw an easy horse head in a few simple steps.
Gathering The Essential Drawing Tools
Gathering the essential drawing tools is the first step in learning how to draw an easy horse head. A selection of pencils is necessary to achieve different effects and shades. Start with a set of graphite pencils ranging from 2H to 6B. H pencils produce lighter lines, while B pencils are better for darker shades. It is also beneficial to have a kneaded eraser as it can be shaped to erase small details and lighten areas. Additionally, a hard eraser will come in handy for more precise erasing. As for the type of paper to use, a heavyweight drawing paper is ideal as it can withstand erasing. Opt for smooth paper to achieve better details on your horse head drawing.
Preparing Your Workspace
Finding A Quiet And Well-lit Area
When starting your drawing, it is important to find a quiet and well-lit area to work in. This will provide you with a calm and focused environment, allowing you to concentrate on your creative process. Look for a space where you won’t be easily distracted and where natural lighting or a bright light source is available.
Organizing And Setting Up Your Drawing Tools
To ensure a smooth drawing experience, organize and set up your drawing tools in advance. Gather your pencils, erasers, sharpeners, and any other materials you’ll be using. Arrange them neatly within reach of your drawing area. This will help you maintain a steady workflow and avoid interruptions in the middle of your drawing.
Getting Comfortable
Before you start drawing, get comfortable in your workspace. Choose a suitable seating position that allows you to have a good view of your drawing surface. Ensure that your back is supported and your shoulders are relaxed. This will help you stay focused and prevent any discomfort or strain during the drawing process.
Breaking Down The Horse Head Into Simple Geometric Shapes
Breaking down the horse head into simple geometric shapes is the key to drawing an easy and accurate representation. The horse head can be broken down into a few main shapes, which include the oval for the head, a rectangular shape for the snout, and triangular shapes for the ears. Identifying these main shapes helps you visualize the horse head and create a strong foundation for your drawing.
Once you have identified the main shapes, you can start sketching the basic forms. Begin by drawing the oval for the head, followed by the rectangular shape for the snout, and the triangular shapes for the ears. Pay attention to the proportions and make adjustments as needed. It is important to observe the reference image or real-life horse head to ensure accurate proportions.
By breaking down the horse head into simple geometric shapes and sketching the basic forms, you can easily create an easy and recognizable horse head drawing. Practice and patience are key to improving your skills, so don’t be afraid to experiment and try different techniques.
Adding The Basic Facial Features
To start drawing the eye of the horse head, position it within the
designated area. Using bold strokes, sketch the almond-shaped eye,
ensuring it follows the basic proportions and angle you desire. Add the
essential details, such as the iris and the highlight, to give the eye
depth and realism. Remember to leave a small white space to represent the
reflection of light.
Proceed to outline the shape of the horse’s nose and mouth. Using bold
lines, create the distinctive curves and contours. Pay attention to the
nostrils, making them look natural and symmetrical. For the mouth, sketch
the lips by keeping in mind the structure of a horse’s mouth. Add lines or
shading to represent the separation of the lips.
Move on to drawing the ears of the horse head. Observe the size and shape
of the ears you wish to portray, whether they’re alert or relaxed. Sketch
the outer outline of the ear and add curved lines to indicate the inner
structure. Ensure that both ears align with the overall positioning of the
head and are proportionate.
Adding Details And Refining The Facial Features
Adding details and refining the facial features is an important step in drawing an easy horse head. Start by defining the eye, which is a key feature of any horse face. Pay attention to the shape and placement of the eye, as well as the lashes and highlights. Next, focus on adding texture to the nose and mouth. This can be done by carefully shading and adding highlights to create a realistic and three-dimensional look. Finally, create realistic ears by observing the shape and positioning of horse ears. These details will bring your horse head drawing to life and make it more visually appealing. Remember to take your time and practice, as it may take some trial and error to achieve the desired effect.
Shading And Highlighting The Horse Head
Understanding light and shadows is crucial when it comes to shading and highlighting a horse head. Shading techniques are used to create depth and dimension, adding a realistic touch to the drawing. By applying gradual variations of value, such as using lighter and darker shades, you can create the illusion of form.
When adding shadows, it’s important to identify the direction of the light source and determine which areas would be in shadow. Typically, the underside of the horse head and areas away from the light source will have more shadow. This can be achieved by using cross-hatching or blending techniques with a pencil or brush.
To further enhance the realism, adding highlights is essential. By determining the areas that would catch the most light, such as the forehead and snout, you can create a sense of depth. Using an eraser or white pencil, carefully lighten those areas, making sure they blend naturally with the rest of the shading.
Erasing Unnecessary Lines
When learning how to draw an easy horse head, it is essential to know how to clean up the drawing by erasing unnecessary lines. This step helps to refine the final image and make it more polished.
Begin by identifying any construction lines that were initially used as guidelines. These lines are not meant to be a part of the final drawing and should be erased. They are often lighter in weight and can easily be removed without disturbing the rest of the artwork.
Next, focus on eliminating any extra sketch lines that may have been used to establish the proportions or detail the features. Erase these lines carefully, making sure not to erase any critical contours or outlines.
After erasing the unwanted lines, take a moment to assess the drawing and make any necessary adjustments. This process may involve adding more definition or refining certain areas to achieve the desired outcome.
| Cleaning Up the Drawing | |
|---|---|
| 1. | Identify and erase construction lines. |
| 2. | Erase unnecessary sketch lines. |
| 3. | Make adjustments and refinements as needed. |
Adding Final Touches
Enhancing the Details
After completing the basic outline and features of the horse head, it’s time to add the final touches that will bring your drawing to life. Start by checking the proportions and symmetry of your artwork. Make sure that the eyes, nose, and mouth align correctly and are in proportion to the overall size of the head.
Next, focusing on enhancing the details. Use smaller, more precise lines to define the facial features such as the nostrils, eyebrows, and ears. Pay attention to the texture and shading to give depth and dimension to the drawing. Experiment with different shading techniques to create a realistic look.
Once you are satisfied with the details, don’t forget to sign and date your artwork. This adds a personal touch and makes it easier to track your progress over time. Remember, practice makes perfect, so don’t be afraid to keep refining your drawing skills and exploring different techniques.
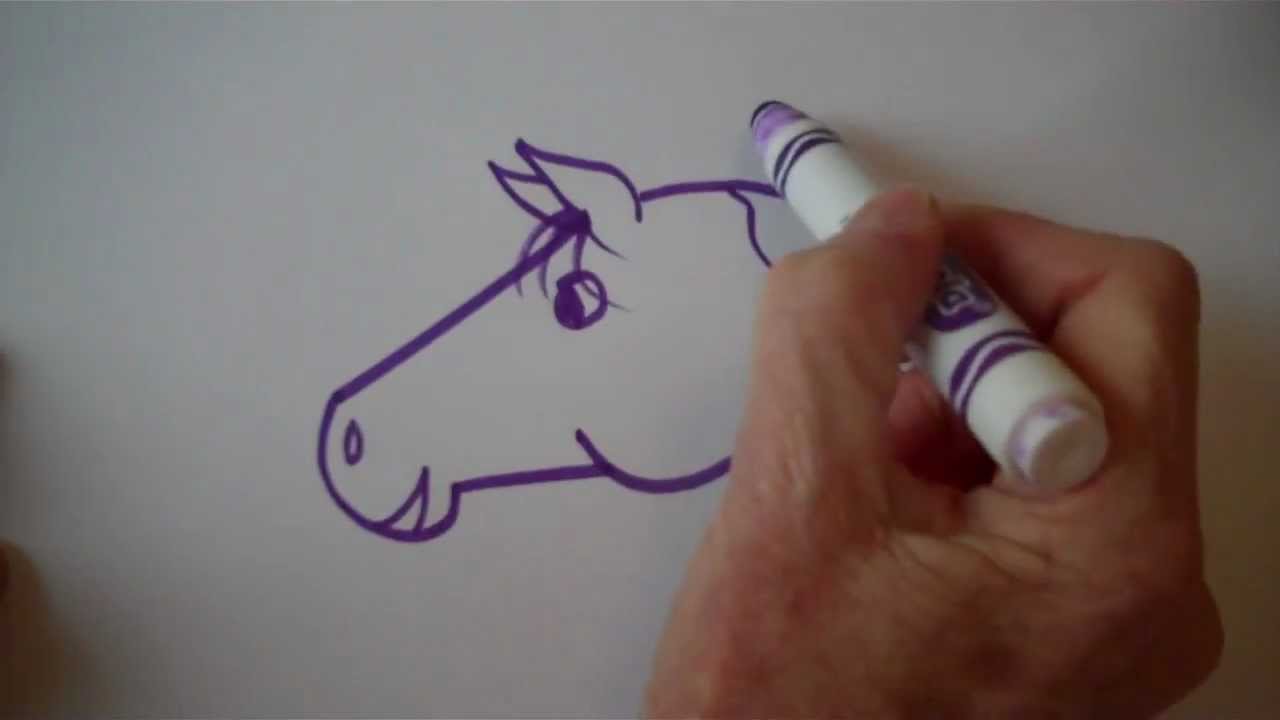
Credit: www.youtube.com
Frequently Asked Questions Of How To Draw An Easy Horse Head
How Do You Draw An Easy Horse Head?
To draw an easy horse head, start by sketching a circle for the head and adding curved lines for the muzzle and ears. Then, add the eyes, nostrils, and a mouth. Complete the head by adding details like the mane and ears.
Finally, erase any unnecessary lines and add shading to create dimension.
What Are The Basic Shapes Used To Draw A Horse Head?
To draw a horse head, you can use basic shapes like circles and ovals. Begin with a circle for the head, an oval for the muzzle, and two smaller circles for the nostrils. The ears can be drawn as triangles, and the mane as a series of curves or lines.
These shapes provide a foundation to build upon.
How Can I Add Realistic Details To My Horse Head Drawing?
To add realistic details to your horse head drawing, observe photographs or real horses to study their anatomy and features. Pay attention to the shape and placement of the eyes, nostrils, and mouth. Adding shading and highlights can also create depth and realism.
Practice and patience are key to improving your skills in capturing lifelike details.
Conclusion
Mastering the art of drawing an easy horse head is an achievable feat with the right techniques. By following step-by-step instructions and practicing regularly, artists of all skill levels can create stunning horse head drawings. Remember to pay attention to proportions and details, and don’t be afraid to experiment with shading and textures.
With dedication and practice, you’ll soon be able to effortlessly bring these majestic creatures to life on paper. So grab your pencils and embark on this artistic journey today!