
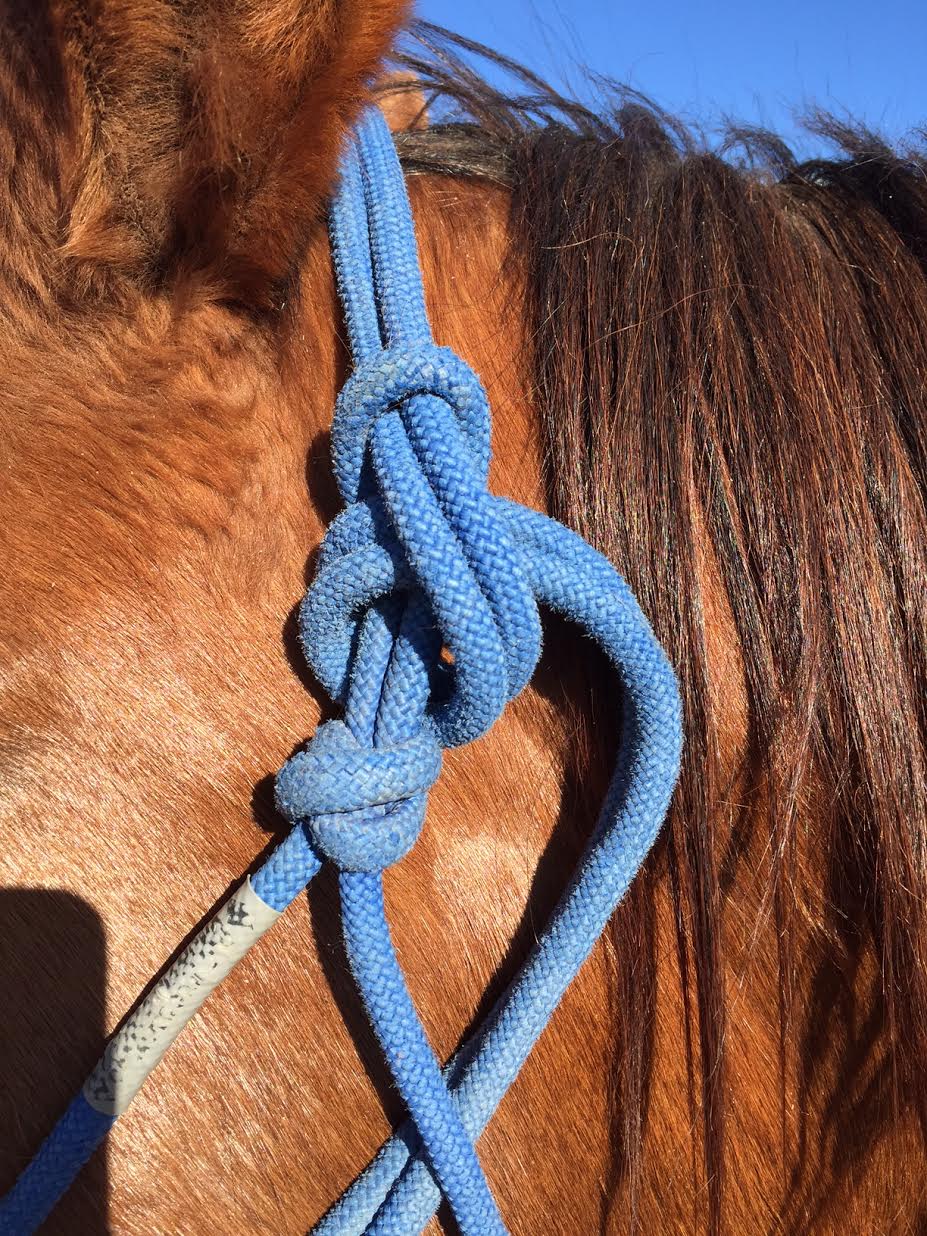
To tie a horse halter, first, secure the halter around the horse’s nose and head, making sure it fits properly. Then, fasten the throat latch and buckle it securely to prevent slippage.
Additionally, ensure that the halter is fitted snugly but not too tightly to allow proper movement and comfort for the horse.
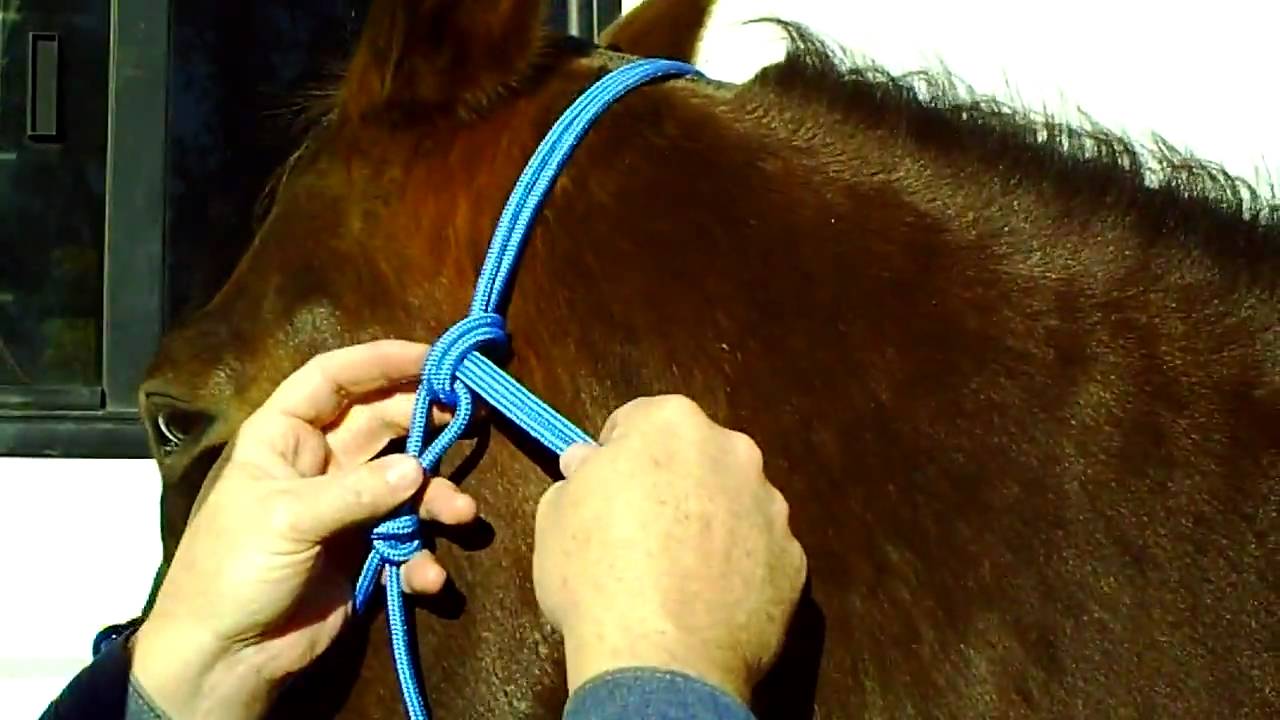
Credit: m.youtube.com
1. Choosing The Right Halter
When selecting a horse halter, there are several factors to consider. Firstly, the type of halter you choose is important. There are different types of horse halters available in the market, including leather halters, nylon halters, and rope halters. Each type has its own advantages and disadvantages, so it’s important to consider the specific needs of your horse.
Another factor to consider is the size of the halter. The halter should fit comfortably on the horse’s head without being too tight or too loose. It’s important to measure your horse’s head before purchasing a halter to ensure the proper fit.
In addition to the type and size, the material of the halter is also important. Leather halters are durable and have a classic look, while nylon halters are lightweight and easy to clean. Rope halters are popular for training and groundwork.
Lastly, consider the purpose of the halter. Will you be using it for everyday handling or for specific activities such as trail riding or showing? This will help determine the style and design of the halter that is most suitable for your needs.
2. Understanding The Anatomy Of A Horse Halter
The different parts of a horse halter play crucial functions in ensuring the safety and control of the horse. Familiarizing yourself with the anatomy of a horse halter is essential for effective use.
- Noseband: Also known as the headstall, it encircles the horse’s head and keeps the halter secure in place. It should be positioned properly to avoid discomfort and potential injury.
- Throatlatch: This adjustable strap connects the noseband to the cheekpiece and helps keep the halter in place. It is vital for preventing the halter from slipping off the horse’s head.
- Cheekpiece: These are the side straps that connect the noseband to the crownpiece. They provide stability and help maintain proper fit.
- Crownpiece: Located at the poll, it holds the halter securely on the horse’s head. Adjustable crownpieces ensure a comfortable fit.
- Hardware: Buckles and rings are part of the halter’s hardware and allow for easy adjustment and attachment of lead ropes.
Understanding the importance and function of each component enables you to correctly fit a horse halter for the safety and comfort of your equine companion.
3. Step-by-step Process To Tie A Horse Halter
To tie a horse halter correctly, follow this step-by-step process:
- Ensuring the halter is properly fitted: Start by placing the halter over the horse’s nose and securing the buckle on the side of the head. Ensure a snug fit that allows about two fingers to fit between the halter and the horse’s head.
- Securing the noseband and throatlatch: Once the halter is fitted, fasten the noseband by threading the strap through the metal ring and securing it firmly. The noseband should sit about two inches below the horse’s cheekbones. Next, attach the throatlatch by connecting it to the metal ring on the other side of the halter.
- Adjusting the crownpiece for comfort and safety: The crownpiece should rest just above the horse’s ears. Adjust it accordingly by loosening or tightening the straps until it fits comfortably, without rubbing or pressing against the horse’s head.
Following these steps will ensure that the horse halter is properly tied, providing the necessary control and comfort for your horse.
4. Common Mistakes To Avoid
When tying a horse halter, it is important to be mindful of common mistakes that can lead to discomfort or injury for the horse. Here are a few tips to help prevent these errors:
- Secure the halter correctly: Ensure that the halter is properly fastened, with enough space for the horse’s comfort but not too loose that it can slip off easily.
- Avoid tying knots too tightly: While it is important for the halter to be secure, tying knots too tightly can cause the horse discomfort and restrict its movement.
- Choose the right location: When tying the horse, select a sturdy and safe location, such as a hitching post or eye bolt. Avoid tying the horse to fragile or unsafe objects.
- Never leave the horse unattended: Always stay present and keep an eye on the horse while it is tied. This will help prevent any accidents or injuries that may occur if the horse becomes tangled or attempts to escape.
By following these tips, you can ensure that your horse is comfortable and safe when tying a halter. Proper techniques and attention to detail are key to preventing any potential issues.
5. Additional Considerations For Specific Situations
When tying a horse halter, there are some additional considerations to keep in mind for specific situations. For grooming or veterinary procedures, it is important to secure the halter properly to ensure the safety of both the horse and the person handling it.
When tying the halter for grooming, make sure the knot is secure but easily removable in case of emergency. You can consider using a quick-release knot or a slip knot that can be easily undone if needed.
For veterinary procedures, it is recommended to use a halter that provides good control and stability. Secure the halter tightly but not too tight, allowing enough room for the horse to breathe comfortably.
On the other hand, when tying a horse halter for training or leading, it is crucial to use a strong and durable knot that can withstand pulling and tugging. The double knot or the square knot can be effective choices in these situations. Ensure that the knot is tight and secure, minimizing the risk of the horse getting loose or causing any harm. It is also important to position the knot properly and comfortably on the horse’s head, avoiding any pressure points or discomfort. Always double-check the halter and knot before starting any activity with the horse, ensuring everything is in place and correctly fitted.
6. Caring For Your Horse Halter
Proper cleaning and maintenance of a horse halter is essential to ensure its longevity and effectiveness. Regular cleaning of the halter is necessary to remove dirt, sweat, and debris that can accumulate over time. Start by removing the halter from the horse’s head and inspecting it for any damage or signs of wear and tear.
Gently brush off any loose dirt and debris using a soft brush or cloth. Use a mild soap and warm water to wash the halter, paying special attention to the areas where dirt and sweat can build up, such as the noseband and cheekpieces.
Scrub the halter gently with a soft brush to remove any stubborn stains. Rinse thoroughly with clean water to ensure all soap residues are removed. Allow the halter to air dry completely before storing it in a clean and dry place.
Regularly check for any signs of damage and repair or replace the halter as needed. By following these cleaning and maintenance practices, you can help extend the lifespan of your horse halter.
7. Exploring Different Halter Knots And Tying Techniques
Overview of various horse halter knots:
| Knot Name | Description |
|---|---|
| Simple Slip Knot | A basic knot that provides easy adjustability. |
| Bowline Knot | A secure knot that won’t slip or loosen easily. |
| Sheet Bend Knot | Used for connecting two ropes of different sizes. |
| Figure Eight Knot | A strong and secure knot, commonly used in rock climbing. |
| Double Overhand Knot | A simple knot that is easy to tie and untie. |
Step-by-step instructions on tying popular knots:
1. Simple Slip Knot:
– Create a loop with the rope.
– Pass the free end of the rope through the loop.
– Pull the free end to tighten the knot.
2. Bowline Knot:
– Create a small loop with the rope near the end.
– Pass the free end up through the loop, around behind the standing end, and back down through the loop.
– Tighten the knot securely.
3. Sheet Bend Knot:
– Take the free end of one rope and pass it through the bight (loop) of the other rope.
– Continue the free end under and then over the bight.
– Tighten the knot by pulling both ends of the ropes.
4. Figure Eight Knot:
– Create a loop with the rope.
– Pass the free end of the rope through the loop and back around.
– Pass the free end through the loop you created and pull tight.
5. Double Overhand Knot:
– Create a loop with the rope.
– Pass the free end of the rope through the loop twice.
– Pull both ends of the rope to tighten the knot.
8. When To Use A Horse Halter And When Not To
A horse halter is an essential tool for horse owners and handlers, providing a secure and reliable way to control and lead the horse. There are situations where using a horse halter is necessary:
| Situations where using a horse halter is necessary | Instances where a halter may not be appropriate |
|---|---|
| 1. During grooming and bathing sessions | 1. When the horse is injured or in pain |
| 2. While tacking up the horse | 2. When working with a foal or young horse that hasn’t been halter trained |
| 3. When leading the horse to and from the pasture or paddock | 3. In situations where the horse may panic or become agitated |
| 4. During veterinary examinations and treatments | 4. If the horse has a history of aggressive behavior |
In these situations, a horse halter provides control and ensures the safety of both the horse and handler. However, there are instances where a halter may not be appropriate:
- When the horse is injured or in pain, as a halter may exacerbate the discomfort
- When working with a foal or young horse that hasn’t been halter trained, as it may cause stress and resistance
- In situations where the horse may panic or become agitated, as a halter may restrict their ability to escape dangerous situations
- If the horse has a history of aggressive behavior, as a halter may not provide adequate control
Understanding when to use a horse halter and when not to is essential for responsible horse handling and ensuring the well-being of the horse.
9. Halter Safety Tips
When handling horses with halters, it is essential to prioritize safety to prevent accidents or injuries. Here are some precautions to keep in mind:
- Always approach the horse calmly and confidently, avoiding sudden movements that may startle or agitate them.
- Ensure the halter fits properly, neither too loose nor too tight, to prevent discomfort or the horse slipping out.
- Regularly inspect the halter for wear and tear, replacing it if necessary to maintain its effectiveness.
- Use proper hand positioning when leading or tying the horse, keeping a secure hold on the lead rope while avoiding wrapping it around your hand.
- When tying the horse, use a quick-release knot or a safety release system to allow for easy release in case of emergencies.
- Avoid tying the horse with a halter that has a breakaway feature as the sole means of safety; consider using a secondary safety device like cross-ties.
- Never leave a horse unattended while tied or unsupervised, as they may panic or injure themselves.
- Always train and handle the horse with patience and respect, using positive reinforcement techniques rather than force or punishments.
- Lastly, familiarize yourself with emergency procedures and equine behavior to act appropriately in unpredictable situations.
By following these safety tips, you can ensure a safer experience when handling horses with halters.
Frequently Asked Questions On How To Tie A Horse Halter
How Do You Tie A Horse Halter?
To tie a horse halter, start by placing the halter over the horse’s nose and ears. Then, pass the end of the lead rope through the halter ring on the left side and make a loop. Bring the end of the lead rope through the loop and tighten it.
Finally, adjust the fit of the halter by sliding the straps under the horse’s chin and over its poll.
What Are The Different Types Of Horse Halters?
There are various types of horse halters available, including rope halters, nylon web halters, leather halters, and breakaway halters. Rope halters are durable and provide good control, while nylon web halters are lightweight and easy to clean. Leather halters are sturdy and durable, and breakaway halters have a safety feature that releases under pressure.
Why Is It Important To Properly Tie A Horse Halter?
Properly tying a horse halter is essential for the horse’s safety and the handler’s control. A secure halter ensures that the horse remains safely restrained when tied, preventing escapes or accidents. It also allows for effective communication and control during handling, grooming, and other activities.
Tying the halter correctly helps prevent discomfort or injury to the horse.
Conclusion
Mastering the art of tying a horse halter is an essential skill for every horse enthusiast. By following these simple steps, you can ensure the safety and comfort of your horse. Remember to practice patience and remain calm while handling your horse.
With time and practice, you will become an expert at tying a horse halter. So, go ahead and enjoy the journey of bonding with your horse through this fundamental skill!