
Crocheting an elephant requires following a specific pattern and using the appropriate stitches and techniques. In this guide, we will provide step-by-step instructions on how to crochet an elephant, allowing you to create your own adorable handmade toy or decoration.
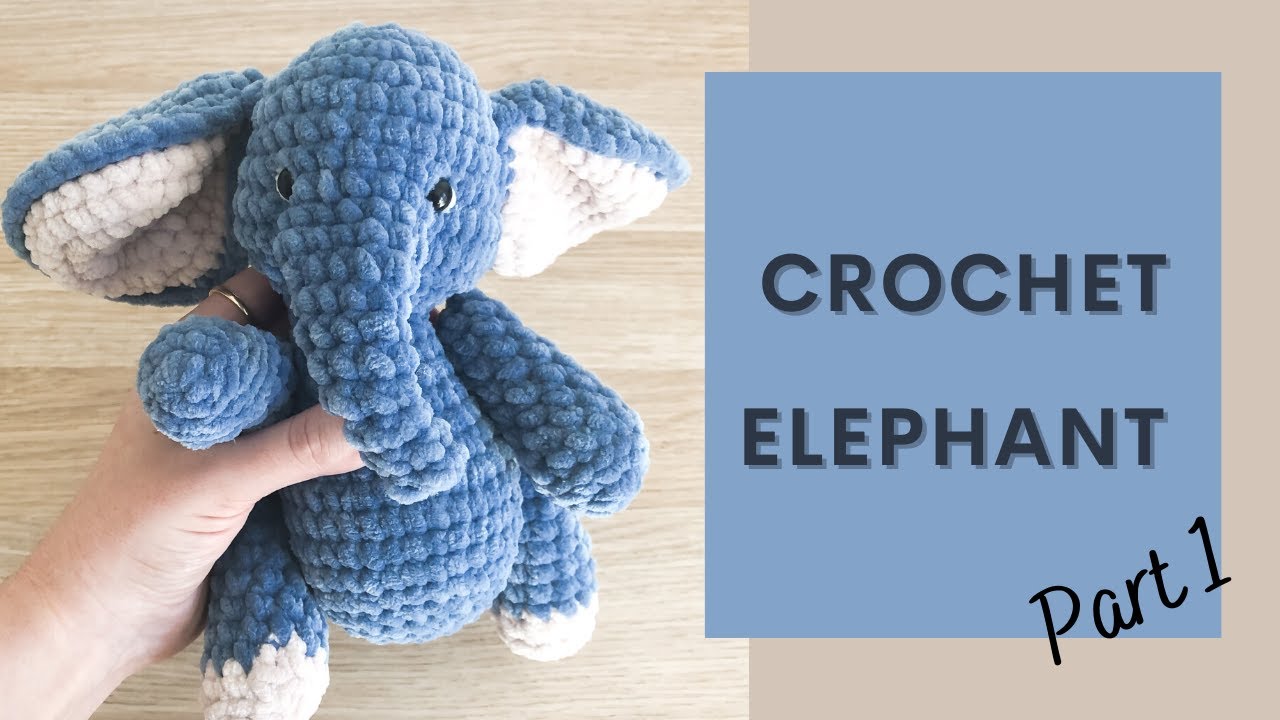
Credit: m.youtube.com
Choosing The Right Yarn And Hook Size
When it comes to starting your crochet elephant project, one of the most important decisions you’ll need to make is choosing the right yarn and hook size. These choices can greatly impact the final appearance and size of your elephant, so it’s essential to understand the importance of yarn weight and fiber type, as well as selecting the appropriate hook size.
Understanding The Importance Of Yarn Weight And Fiber Type
Yarn weight refers to the thickness of the yarn, which can vary from superfine to super bulky. Choosing the right yarn weight for your crochet elephant is crucial as it will determine the size and overall look of your finished project.
Here’s a breakdown of common yarn weight categories:
- Superfine: Also known as sock or fingering weight, this yarn is delicate and lightweight.
- Fine: Known as baby or sport weight, this yarn is slightly thicker than superfine.
- Light: Also called DK (double knitting) weight, this yarn is versatile and commonly used.
- Medium: Also called worsted weight, this is the most commonly used yarn weight in crochet projects.
- Bulky: This yarn is thicker and works up quickly, creating a chunky and cozy texture.
- Super Bulky: As the name suggests, this yarn is extremely thick and creates large, plush stitches.
Aside from yarn weight, the fiber type can also affect the texture and drape of your elephant. Some popular choices include cotton for a soft and breathable finish, acrylic for affordability and easy care, and wool for warmth and durability.
Selecting The Appropriate Hook Size For Your Project
Once you’ve chosen the right yarn weight and fiber type, it’s time to select the appropriate hook size. The hook size determines the tension and stitch size, so it’s crucial to choose one that matches your yarn and desired results.
Here are a few tips for selecting the right hook size:
- Refer to the yarn label: Yarn manufacturers often provide recommended hook sizes on the label, making it easier to choose the proper one.
- Consider the crochet pattern: If you’re following a specific pattern, it will typically specify the recommended hook size. Following the pattern’s guidance will ensure accurate results.
- Test your tension: If you’re working on your own design or improvising, it’s important to do a gauge swatch to determine your tension. Adjust the hook size as needed to achieve the desired stitch size.
- Experiment and practice: Feel free to experiment with different hook sizes to achieve different effects. Keep in mind that a smaller hook will create tighter stitches, while a larger hook will create looser stitches.
By choosing the right yarn weight and fiber type, as well as selecting the appropriate hook size, you’ll be on your way to creating a crocheted elephant that is just the right size and has the perfect texture. So take your time, explore the various options available, and enjoy the creative process!
Starting With The Elephant’s Body
When it comes to crocheting an adorable elephant, starting with the body is a crucial step that sets the foundation for your project. In this section, we will guide you through the process of creating the elephant’s body, from forming the base with a magic ring to shaping it using different crochet techniques.
Creating A Magic Ring As The Base For Your Elephant
To start crocheting the elephant’s body, you’ll need to create a magic ring. The magic ring, also known as a magic circle, is a technique used to begin crochet projects in the round. It creates a tight and seamless center, allowing you to gradually increase stitches as you work.
Here’s how you can create a magic ring:
- Make a small loop with the yarn, crossing the tail end over the working yarn.
- Insert your crochet hook through the loop.
- Grab the working yarn and pull it through the loop, forming a chain stitch.
- Tighten the loop slightly, but not too tight.
Working The First Few Rounds To Form The Body Shape
Once you have the magic ring in place, it’s time to work the first few rounds to form the basic body shape of your elephant. Start by crocheting single crochet stitches into the magic ring. The number of stitches you make in this round will depend on the desired size of your elephant.
Continue working in rounds, making single crochet stitches until you reach the desired length for the body. Remember to count your stitches in each round to ensure that you stay on track and maintain an even shape.
Increasing And Decreasing Stitches To Achieve The Desired Size
To achieve the desired size of your crochet elephant, you will need to incorporate increasing and decreasing stitches throughout the body. Increasing stitches involve adding extra stitches in a round, while decreasing stitches involve reducing the number of stitches in a round.
When increasing stitches, you can use techniques such as making two single crochet stitches in the same stitch or using stitch patterns like the half double crochet increase. These techniques will help expand the size of your elephant’s body.
On the other hand, when decreasing stitches, you can use techniques like the single crochet decrease or the invisible decrease. These techniques are used to shape the body and create curves in the crochet project.
Remember to space out your increases and decreases evenly to maintain a symmetrical and well-proportioned elephant body. Regularly measure your work against your desired size to ensure you’re on track.
With these steps, you are well on your way to creating a delightful crochet elephant. Remember to take your time, enjoy the process, and let your creativity shine as you work on your adorable masterpiece!
Adding Cute Details To Your Elephant
When it comes to crocheting an adorable elephant, adding cute details is key to bringing your creation to life. By incorporating different elements like ears, eyes, a tail, and even a trunk or tusks, you can create a unique and charming elephant that will capture everyone’s attention. In this section, we’ll walk you through the process of adding these delightful details, ensuring that each element is crafted with care and securely attached to your crochet elephant.
Crafting The Ears And Attaching Them Securely
One of the most captivating features of an elephant is its ears. To craft the ears, you’ll need to start by making two identical ear-shaped pieces using your preferred crochet stitch. You can use a basic single crochet stitch to create a simple and elegant ear design. Once your ears are complete, it’s time to attach them securely to your elephant’s head.
To ensure the ears stay in place, position each ear on either side of the elephant’s head, slightly below the top. Use a tapestry needle and the same color yarn as your elephant’s body, thread the needle through both the body and ear, making sure to stitch securely but without distorting the shape. Repeat this process with the second ear, ensuring they are symmetrical and evenly positioned.
Embellishing The Body With Eyes And A Tail
The eyes and tail are additional cute details that will make your crochet elephant truly delightful. For the eyes, you can either use plastic safety eyes or crochet your own using a contrasting color yarn. Position the eyes on the elephant’s face, slightly above the trunk area, and securely attach them by following the instructions provided with the safety eyes or by sewing them on with a tapestry needle and yarn.
As for the tail, you can choose to crochet a straight tail or create a curled effect by using a wire or pipe cleaner within the tail structure. Attach the tail to the back of the elephant’s body, near the bottom, using the same yarn and techniques as previously described to ensure it is firmly in place.
Incorporating Additional Features Like A Trunk Or Tusks
If you want to take your crochet elephant to the next level, consider incorporating additional features like a trunk or tusks. The trunk can be created by crocheting a long, narrow tube and attaching it to the front of the elephant’s head, slightly below the eyes. Make sure to securely sew the trunk in place, allowing it to hang gracefully in front of the elephant’s body.
Tusks can be crafted using a similar technique as the trunk, but with shorter and thicker pieces. Attach these to the sides of the elephant’s face, emphasizing their position just above the trunk. Secure them tightly, as they will enhance the overall charm and character of your crochet elephant.
Putting It All Together
Learn how to crochet an adorable elephant in this comprehensive guide. From choosing the perfect yarn to mastering intricate stitches, you’ll have all the tools you need to create a unique and charming crochet elephant.
Assembling The Different Parts Of The Elephant
Once you have crocheted all the necessary parts, it’s time to bring your adorable crochet elephant to life by assembling them. Follow these simple steps to put everything together in the right order:- Start by positioning the elephant’s legs onto the body. Make sure they are evenly spaced and aligned with the body’s outline.
- Using a yarn needle, sew the legs securely to the body. Make small stitches along the edges to ensure they are firmly attached. This will give your elephant good stability.
- Next, attach the trunk to the front of the head. Align it carefully and sew it in place using small stitches. Ensure it is positioned just above the mouth.
- For the ears, fold them slightly to add dimension. Position them on either side of the head, slightly angled outward. Sew them securely, paying attention to the natural curve of the ear.
- Lastly, sew the tail to the back of the body. You can position it straight, curved, or even curled for a playful touch.
Properly Stuffing And Shaping The Body For A Realistic Look
To give your crochet elephant a realistic appearance, it’s crucial to properly stuff and shape the body. Consider the following tips:- Use polyester fiberfill or stuffing material of your choice. Ensure it is evenly distributed throughout the body to maintain a consistent shape.
- Start by stuffing the limbs and head firmly. Use small amounts of stuffing at a time, ensuring it reaches into the fingers, trunk, and other intricate areas.
- As you stuff the body, take breaks to shape it. Gently mold the body using your hands, emphasizing the curves and contours of an elephant’s silhouette.
- Be mindful not to overstuff, as it can lead to a stiff and unnatural look. The goal is to achieve a soft and cuddly elephant that retains its shape.
- Regularly check the overall appearance of your crochet elephant, adjusting the stuffing and shaping as needed. Step back and assess the proportions, making adjustments as necessary to create a lifelike toy.
Securing All The Components To Ensure Durability
To ensure the longevity of your crochet elephant, it’s important to secure all the components properly. This will prevent any parts from coming loose during play or handling. Follow these steps:- Thread a needle with the same yarn used for crocheting and knot the end.
- Starting from the inside, insert the needle through the body and bring it out through a stitch near the attachment point of each component.
- Make several small stitches in the same spot, securing the yarn tightly. Take care not to pull too tightly, as it could distort the shape of the crochet piece.
- Repeat this stitching process for each component, including the legs, trunk, ears, and tail.
- After securing all the components, insert the needle back through the body and knot the yarn on the inside to secure it firmly.
Finishing Touches And Personalization
After spending hours crafting your adorable crochet elephant, it’s time to add those finishing touches that will truly make it unique. Personalizing your elephant not only adds character but also gives you the opportunity to express your creativity. In this section, we’ll explore different ways you can enhance your elephant’s appearance with color, patterns, embroidery, appliques, and accessories.
Adding Color And Pattern To Your Elephant With Different Stitch Variations
One of the easiest ways to personalize your crochet elephant is by incorporating different stitch variations to add color and pattern. By using a combination of stitches such as the popcorn stitch, shell stitch, or even the bobble stitch, you can create interesting textures and designs on your elephant’s body. Experiment with contrasting colors or subtle tonal changes to bring your elephant to life.
Enhancing The Appearance With Embroidery Or Appliques
Embroidery and appliques are great techniques to elevate the appearance of your crochet elephant. With a few simple stitches, you can add details like eyes, eyelashes, or rosy cheeks to give your elephant a whimsical expression. You can also use appliques to create fun shapes like flowers or stars, and then securely sew them onto your elephant for added charm.
Embellishing With Accessories Such As Bows, Scarves, Or Hats
No outfit is complete without accessories, and the same goes for your crochet elephant! You can give your elephant a touch of style by adding accessories like bows, scarves, or even hats. A tiny bow tied around one ear or a cozy scarf wrapped around the neck can instantly transform your elephant into a fashionable little creature. Get creative and match the accessories to your elephant’s color palette for a harmonious look.
Remember, whether you choose to add color, patterns, embroidery, appliques, or accessories, the key to successful personalization is to let your imagination run free. Let your crochet elephant be a true reflection of your creativity and enjoy the process of bringing it to life!
Frequently Asked Questions On How To Crochet Elephant
How Do You Crochet An Elephant?
Crocheting an elephant involves following a specific pattern, using basic stitches and shaping techniques.
What Materials Do You Need To Crochet An Elephant?
To crochet an elephant, you will need yarn, a crochet hook, stuffing, safety eyes, a yarn needle, and scissors.
Are There Different Patterns Available For Crocheting Elephants?
Yes, there are various crochet patterns available for elephants, ranging from beginner-friendly to more advanced designs.
Can I Customize The Size Of The Crochet Elephant?
Absolutely! You can adjust the size of the crochet elephant by using different yarn weights and changing the hook size.
What Are The Basic Crochet Stitches Used In Making An Elephant?
The basic crochet stitches commonly used in making an elephant include single crochet, double crochet, and slip stitch.
How Long Will It Take To Crochet An Elephant?
The time required to crochet an elephant may vary depending on your crochet skill level and the complexity of the pattern you choose.
Are There Any Tips For Crocheting An Elephant Successfully?
To ensure successful crocheting, it is important to follow the pattern carefully, maintain consistent tension, and stuff the elephant firmly for better shaping.
Conclusion
Mastering the art of crocheting elephants is a delightful journey that offers endless creative possibilities. By following the step-by-step instructions and practicing patience, you can add a whimsical touch to your handmade projects. Remember to choose the right yarn, familiarize yourself with the basic stitches, and let your creativity soar.
Bring these adorable creatures to life and enjoy the satisfaction of seeing your crochet elephant come to life. Happy crocheting!